BUROCRACIA
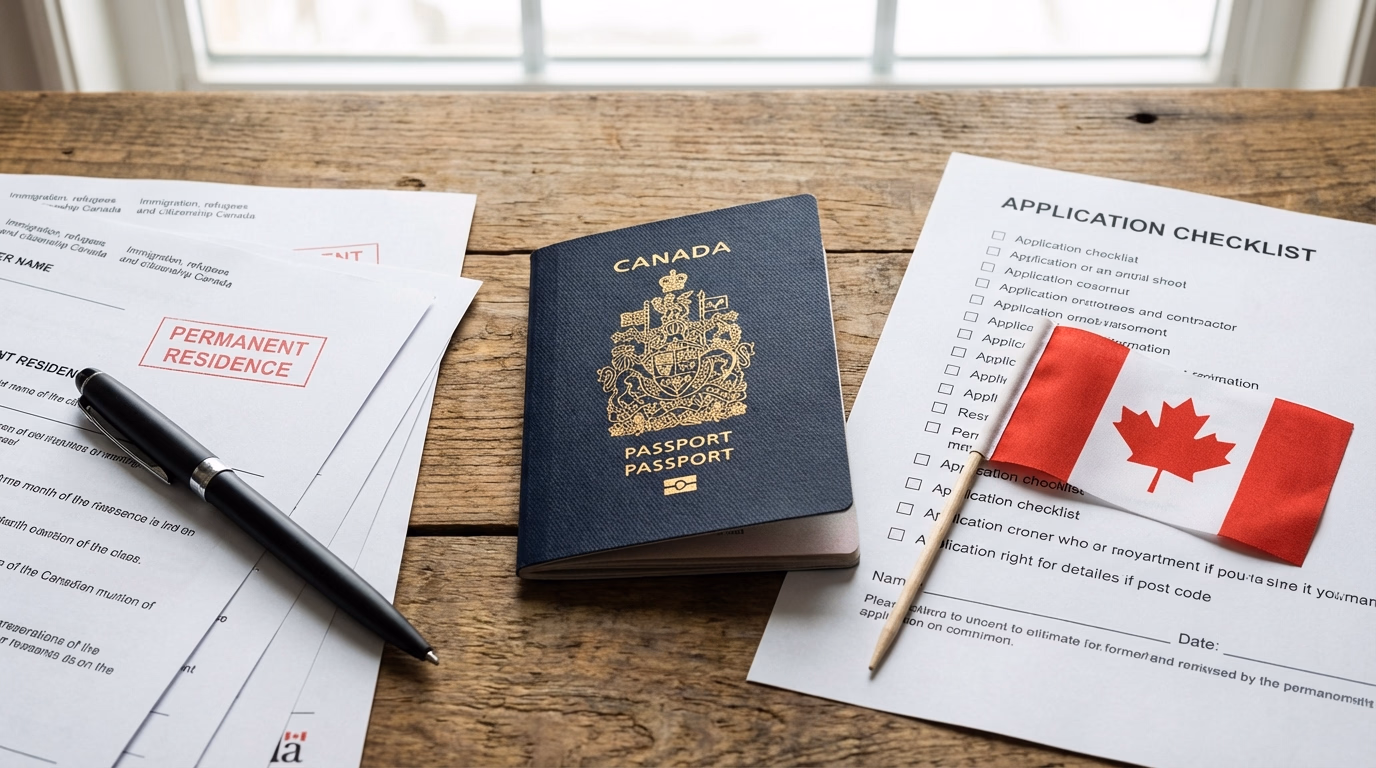
Documents to immigrate to Canada: complete guide
In this article
Immigration paperwork for Canada costs R$8,000-12,000+ (about CAD 2,000-3,000): apostilles (R$120-150), translations (R$200-500/page), ECA (CAD 200-300).
Diploma Equivalence for Canada in Practice! (NOT VALIDATION)
Descubra o segredo para tirar seu SIN NUMBER rápido no Canadá!
Look, I need to tell you something before we start this guide: paperwork almost destroyed my immigration process. Seriously. I had a DS-160 nightmare (the US visa form that affected my application), agency errors on my tourist visa, and I spent a fortune on sworn translations that could have cost less if I’d planned better.
So when I say this article is the map of Canadian bureaucracy, I’m speaking with the authority of someone who tripped over almost every rock on the path. We Brazilians come abroad to make a mess of things, but at least I can help you not repeat my mistakes.
In this guide, I’ve gathered every document you’ll need to immigrate to Canada, with up-to-date costs, practical tips, and the order I recommend preparing everything. Let’s go.
My paperwork nightmare (so you don’t repeat it)
Before getting into the list, let me share what happened to me so you understand why I take paperwork so seriously:
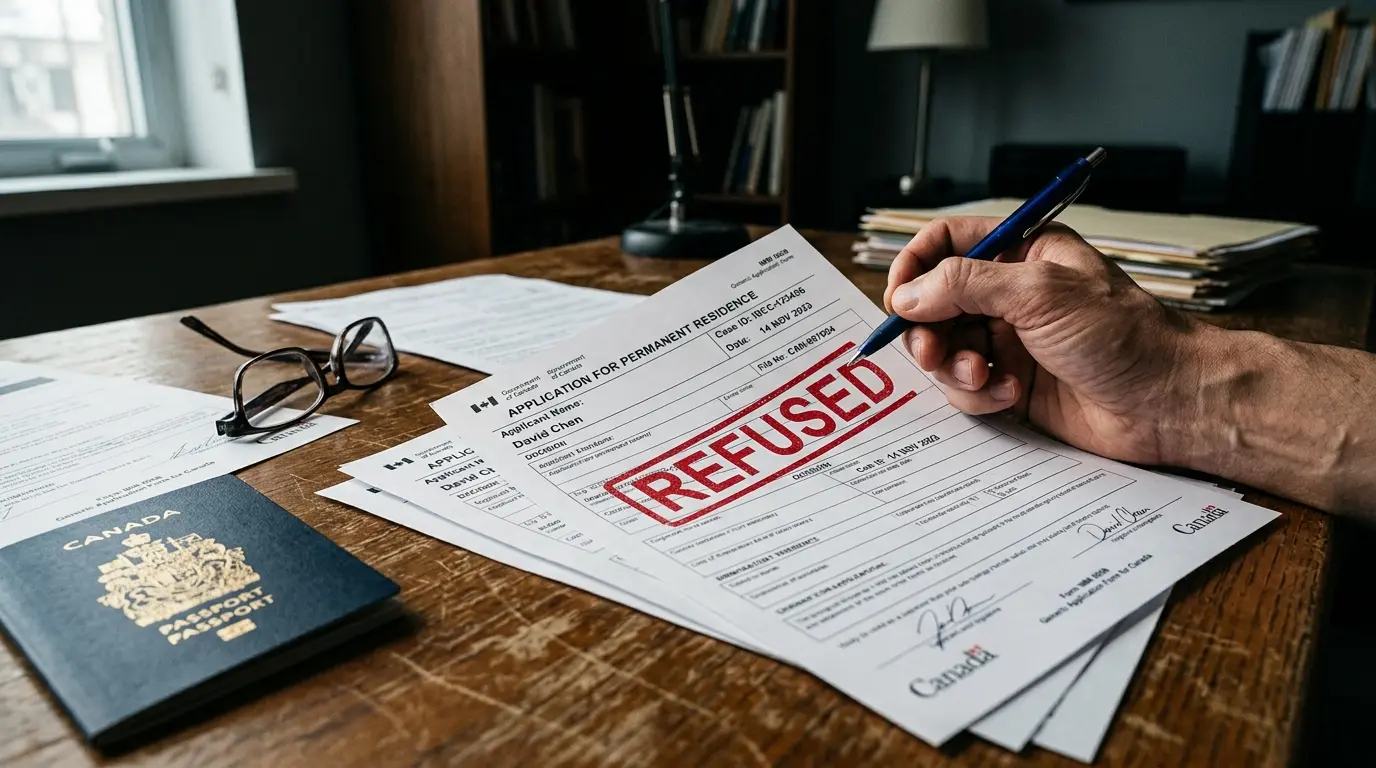
The DS-160 that almost ended it all: When I went to get my US visa (before coming to Canada, we also considered the US), there was an inconsistency in the DS-160, a piece of data that didn’t match other information I had declared. The result? First denial. The US visa was denied. Man, the despair that hit me… I thought it was over, that this would stain my name for any immigration process. It didn’t, thank God, but the scare was huge and it pushed our plans back by months.
The agency that messed up my tourist visa: We hired an agency to help with the Canadian tourist visa, and they made mistakes filling out the forms. Silly mistakes, like inconsistent information between forms. That created more headaches, more rework, and more money spent fixing it. Lesson learned: if you hire an agency, CHECK EVERYTHING yourself. Don’t trust blindly. Read every form before you sign.
The sworn translations: I spent more than I needed to because I didn’t properly plan the order of the documents and had to redo a translation. I’ll explain the right order below, take notes.
Now, let’s get to the full guide.
What basic personal documents do you need to immigrate to Canada?
Before anything else, you need to have on hand the personal documents that form the foundation of any application to Canada.
- Valid passport: I recommend having at least 6 months of validity remaining at the time of application. If yours is close to expiring, renew it before you start. An expired passport in the middle of the process is a guaranteed headache. Trust me, you don’t want to deal with the Federal Police racing against the clock.
- Birth certificate: Required for the diploma equivalence (ECA) and to include dependents in the application. Request an updated copy if yours is very old.
- Marriage certificate: If you’re married, this document is essential to include your spouse in the process. Clara and I needed this certificate, and thankfully we already had a recent copy. Common-law unions also need supporting documentation.
- Criminal record certificate: You’ll need the federal certificate (issued by the Federal Police) and, depending on the program, the state certificate too. The federal certificate can be requested online on the Federal Police website and usually comes out in a few days. This one’s easy, it’s the fastest part of the whole bureaucracy.
- IRCC standard photos: Canada has its own specifications for immigration photos: 35mm x 45mm, white background, no glasses, face centred. Many photographers in Brazil already know the standard. Bring the printed specification to be sure, I brought it and the photographer still got it wrong the first time. Check before you leave the shop!
How does the Hague Apostille work for Canada?
The Hague Apostille is the seal that internationally validates your Brazilian documents. Since Brazil joined the Hague Convention in 2016, this process replaced the old consular legalization, and it became much simpler and faster.
Which documents need an apostille?
Basically, every Brazilian public document you’ll use in the process:
- Birth certificate
- Marriage certificate
- Criminal record certificate
- Diplomas and academic transcripts
- ID card (in some cases)
Where to do it?
The apostille is done at registry offices authorized by the CNJ (the National Council of Justice). You can check the list of registry offices on the CNJ website. In most large cities, several registry offices offer the service.
How much does it cost?
As of May 2026, the cost is around R$120 to R$150 per document, check your local registry office since annual adjustments are common. It seems small on its own, but when you add it all up (birth, marriage, diploma, transcript, criminal record), the total can reach R$600-900.
The truth: When I added up everything I spent on apostilles, translations, and equivalence, the number scared me. It easily runs R$2,000-3,000 just for the document bureaucracy. Plan for that in your budget.
How long does it take?
At most registry offices, the apostille is issued the same day or within 24 hours. Some registry offices offer express service for an extra fee, but the normal turnaround is usually already quite fast.
Important tip: Always apostille the original document, not the copy. The sworn translation afterward will be made from the apostilled document.
How to get a sworn translation for Canada?
Canada accepts documents only in English or French. Anything in Portuguese needs a sworn translation done by a certified public translator.
Who can do it?
In Brazil, sworn translators are accredited by the Boards of Trade (Juntas Comerciais) of each state. You can check the list of translators on your state’s Board of Trade website. In Canada, translators certified by ATIO (Association of Translators and Interpreters of Ontario) and similar organizations in each province are also accepted.
How much does it cost?
The costs vary a lot, but expect to pay between R$200 and R$500 per page, depending on the complexity of the document. Diplomas and academic transcripts tend to be more expensive than simple certificates.
My experience with costs: I spent more than I’d have liked on translations because I did some of them in Canada instead of in Brazil. The price here is significantly higher, sometimes double. If I could go back in time, I’d do ALL the translations in Brazil before coming.
A tip that saved me money
Do your translations in Brazil. The prices are usually significantly lower than what translators in Canada charge. On top of that, Brazilian translators are already used to the format of our documents and know how to adapt them correctly.
Recommended order (FOLLOW THIS ORDER, seriously)
- Get the original document
- Apostille it at a registry office
- Only then send it for sworn translation
This order matters: the sworn translator translates the document with the apostille included, forming a single document package. If you don’t follow this order, you’ll have to apostille again and translate again. I almost fell into that trap, a friend warned me in time.
What is the ECA and how do you get it for Canada?
The ECA is the equivalence of your Brazilian diploma to the Canadian standard. It’s mandatory for anyone applying through Express Entry and is also required by many provincial programs (PNPs).
What is it?
It’s a report issued by an organization accredited by IRCC that says: “this Brazilian diploma is equivalent to such-and-such level of Canadian education”. Without this report, the system can’t score your education in the CRS.
Accepted organizations
- WES (World Education Services): the most popular among Brazilians, fastest processing
- IQAS (International Qualifications Assessment Service): widely used for those heading to Alberta
- CES (Comparative Education Service): from the University of Toronto
- ICAS (International Credential Assessment Service): another option accepted by IRCC
How does the process work through WES?
- Create an account on the WES website and select “ECA for IRCC”
- Ask your Brazilian university to send your academic transcript and diploma directly to WES (or use an accepted intermediary service)
- Send the translated and apostilled documents
- Wait for the assessment
- Receive the report by email and post
Timelines and costs
- Timeline: 20 to 35 business days (after they receive all documents)
- Cost: As of May 2026, approximately CAD 200 to 300, including assessment and report delivery fees
- Validity: 5 years from issuance
Tip: Use WES. Besides being the most accepted, it has the fastest processing and the friendliest interface. Most of the Brazilians I know used WES without any problems.
Which language tests does Canada accept?
Proficiency in English (and/or French) is one of the heaviest-weighted factors in the Express Entry score. Without a valid language test, you simply can’t apply.
For English
- IELTS General Training: the most traditional, taken on paper or computer. Heads up: it’s the General Training, not the Academic. A lot of people get this wrong.
- CELPIP General: entirely computer-based, with a Canadian accent. Some candidates find it easier than IELTS because it’s 100% digital.
For French
- TEF Canada: Test d’Evaluation de Français
- TCF Canada: Test de Connaissance du Français
Costs
- IELTS in Brazil: R$1,200 to R$1,400
- CELPIP: available mainly in Canada, CAD 280-340
- French tests: similar prices
Important information
- Results are valid for 2 years, plan when to take the test relative to your application
- Scores are converted to CLB (Canadian Language Benchmarks), and the minimum level varies by program
- For Express Entry, the higher the CLB, the more points in the CRS. Aim for CLB 9 or higher to maximize your score
Tip: If you already speak good English, consider investing in basic French. Bilingualism adds significant points to the CRS and can be the deciding factor at draw time.
How does the immigration medical exam work?
The Immigration Medical Exam (IME) is mandatory for practically every immigration process to Canada. There’s no escaping this one.
How does it work?
The exam must be performed by a physician designated by IRCC (panel physician). It can’t be just any doctor, it has to be one from the official list. In Brazil, there are panel physicians in São Paulo, Rio de Janeiro, Belo Horizonte, Curitiba, Brasília, Porto Alegre, and a few other cities.
What does it include?
- General physical exam
- Blood tests (HIV, syphilis, among others)
- Chest X-ray
- Vision test
- Vaccination history check
Costs and timelines
- Cost: between R$800 and R$1,500, depending on the city and the doctor
- Validity: 12 months from the date taken
- The results are sent directly to IRCC by the doctor, you don’t get a physical copy
Tip: Book ahead. Panel physicians usually have waiting lists of weeks, especially in São Paulo and Rio de Janeiro. If possible, book 2-3 months before you need it.
How to do your biometrics for Canada?
The biometrics collection (fingerprints and photo) is mandatory for most Canadian immigration applications.
Where to do it in Brazil?
Biometrics are collected at VACs (Visa Application Centres), operated by VFS Global. In Brazil, there are VACs in São Paulo and Brasília.
Process
- After submitting your application online, you receive a biometrics instruction letter
- Book an appointment at the nearest VAC
- Show up on the day with your passport and the instruction letter
- The collection takes about 15-20 minutes
Costs and validity
- Cost: CAD 85 per person (adults), CAD 170 for a family
- Validity: 10 years, meaning if you need to make another application within 10 years, you don’t have to collect them again
How much do you need to show for Proof of Funds?
Canada wants to be sure you can support yourself financially when you arrive. For programs like Express Entry, you need to prove you have enough funds.
Minimum required amounts (updated)
| Family size | Minimum amount (CAD) |
|---|---|
| 1 person | 14,690 |
| 2 people | 18,288 |
| 3 people | 22,483 |
| 4 people | 27,297 |
| 5 people | 30,690 |
| 6 people | 34,917 |
Amounts subject to annual updates by IRCC.
What is accepted as proof?
- Bank statements from the last 6 months
- Investment statements (stocks, funds, savings)
- A letter from the bank confirming the balances
For students: GIC
If you’re applying for a study permit, the GIC (Guaranteed Investment Certificate) is an option that smooths the process. The current amount is approximately CAD 20,635, deposited in a Canadian bank before applying.
Tip: Keep the money in the account with no large movements in the final months. Very large withdrawals or deposits near the proof date can raise suspicion.
How much I spent on documentation in total
To give you a real idea of how much comes out of your pocket, here’s an approximate summary of what Clara and I spent on the entire documentation side:
| Item | Approximate cost |
|---|---|
| Hague apostilles (multiple documents, x2) | R$1,200-1,500 |
| Sworn translations (x2 people) | R$2,000-3,000 |
| IELTS (x2) | R$2,400-2,800 |
| ECA / WES | CAD 200-300 |
| Medical exam (x2) | R$1,600-3,000 |
| Biometrics (couple) | CAD 170 |
| IRCC standard photos (x2) | R$60-100 |
| Approximate total | R$8,000-12,000+ |
And that’s WITHOUT counting application fees, airfare, and proof of funds. The document bureaucracy alone is a heavy investment. Plan for it in your budget ahead of time. If you don’t set this money aside, you’ll get squeezed at the wrong moment, you get me?
Checklist organized by program
Express Entry (Federal Skilled Worker)
- Valid passport (6+ months)
- Language test result (IELTS/CELPIP)
- ECA (diploma equivalence)
- Criminal record certificate (apostilled)
- Birth certificate (apostilled and translated)
- Marriage certificate, if applicable (apostilled and translated)
- Proof of work experience (employment letters)
- Proof of Funds (bank statements)
- IRCC standard photos
- Medical exam (IME)
- Biometrics
Study Permit (study visa)
- Valid passport
- Acceptance letter from the educational institution (LOA)
- Proof of funds (GIC + first year’s tuition paid)
- Language test result
- Criminal record certificate
- IRCC standard photos
- Medical exam (IME)
- Biometrics
- Statement of purpose (in some cases)
Work Permit
- Valid passport
- LMIA approved by the employer (if applicable)
- Employment contract or offer
- Proof of professional qualification
- Criminal record certificate
- IRCC standard photos
- Medical exam (IME)
- Biometrics
Final tips, from the guy who almost lost his process over the wrong document
After going through this whole process, including the US visa denial over the DS-160 error and the agency’s mistakes, I can tell you that organization is what separates those who immigrate on schedule from those who get stuck in bureaucracy. Here are my most important tips:
-
Start gathering documents 6 to 12 months before you plan to apply. Some documents take longer than you’d think, and surprises happen. They happened to me, they’ll happen to you.
-
Keep multiple certified copies of each document. You’ll need copies for the main application, for your spouse, and as a backup.
-
Digitize absolutely everything. Create organized folders in Google Drive or similar: one for scanned original documents, one for apostilles, one for translations, one for exam results. This will make submitting online much easier. Clara and I have a shared folder with everything organized by category, it saved us more than once.
-
Check the expiry dates. Each document has a deadline: IELTS is valid for 2 years, ECA for 5 years, the medical exam for 12 months, criminal record usually for 6-12 months. Build a calendar with all the expiry dates.
-
Always check the official IRCC website (canada.ca) for the most up-to-date requirements. The rules change frequently, and a new requirement could appear between the moment you read this guide and the time you apply.
-
Don’t trust agencies blindly. If you hire one, read and check EVERY form before submitting. Ask, question, clear up doubts. The responsibility is YOURS, not the agency’s. I learned that the hard way.
-
Don’t rely only on WhatsApp or Facebook groups. There’s a lot of outdated and incorrect information going around. Use these groups as a starting point, but always confirm on the official website.
Conclusion
Gathering all the documentation to immigrate to Canada is a process that demands patience, organization, and a solid financial investment. But every document you prepare is a concrete step toward your goal.
The bureaucracy can seem scary, and look, at some moments it really is scary. I had sleepless nights over paperwork. But when you look at it item by item, like we did in this guide, it becomes manageable. The secret is to start early, keep everything organized, and not leave it to the last minute.
If I made it, with all the mistakes I made, with a visa denial, with an agency that messed up, with a translation I had to redo… man, you can make it too. I genuinely believe that.
If you’re at the start of the journey, I also recommend reading the guide on Express Entry, the article on study permits, and the guide on LMIA and work permits. Each process has its own quirks, and the more informed you are, the better.
I got your back. See you in Canada.
Frequently asked questions
What is the Hague Apostille?
How much does all the documentation to immigrate to Canada cost?
Where to get a sworn translation for Canada?
What is the ECA and how do you get it?
In what order should you prepare the documents?
The Vancouver Letter
You made it this far. That tells me something.
The Vancouver Letter is the letter I wish someone had sent me the third time I tried for Canada, when I had no idea what I was doing wrong. Once a week, straight to your inbox. No products, no courses, just what actually works. I got your back.
Get immigration updates
Practical tips straight to your inbox.
Related articles
7 Misrepresentation Mistakes That Can Destroy Your Canada Process
IRCC uses AI to cross-check your applications. Know the 7 most common mistakes that lead to a 5-year ban, and how to avoid them.
Canada's New PR Program: Answers to the Most Common Questions
When does the new PR arrive? Is Express Entry still worth it? What to do now? Direct answers about the 2026 reform of Canada immigration system.

Canada study permit: what changed in 2026
Study permit in 2026: cap dropped 305k to 155k, GIC rose to CAD 20,635, PGWP needs an eligible field. Analysis from someone who landed in Vancouver in 2024.